

Installation
Requirements
Section titled “Requirements”| Requirement | Confirmed information |
|---|---|
| Unity | The documented development workspace used Unity 6000.3.4f1. |
| Game Creator 2 | Game Creator 2 Core is required. |
| Minimum supported versions | Not yet published. |
Install the package
Section titled “Install the package”- Back up the project or create a version-control checkpoint.
- Install Game Creator 2 Core and resolve any existing compiler errors.
- Import Gameplay Tags for Game Creator 2 from the Unity Asset Store.
- Wait for Unity to finish importing assets and compiling scripts.
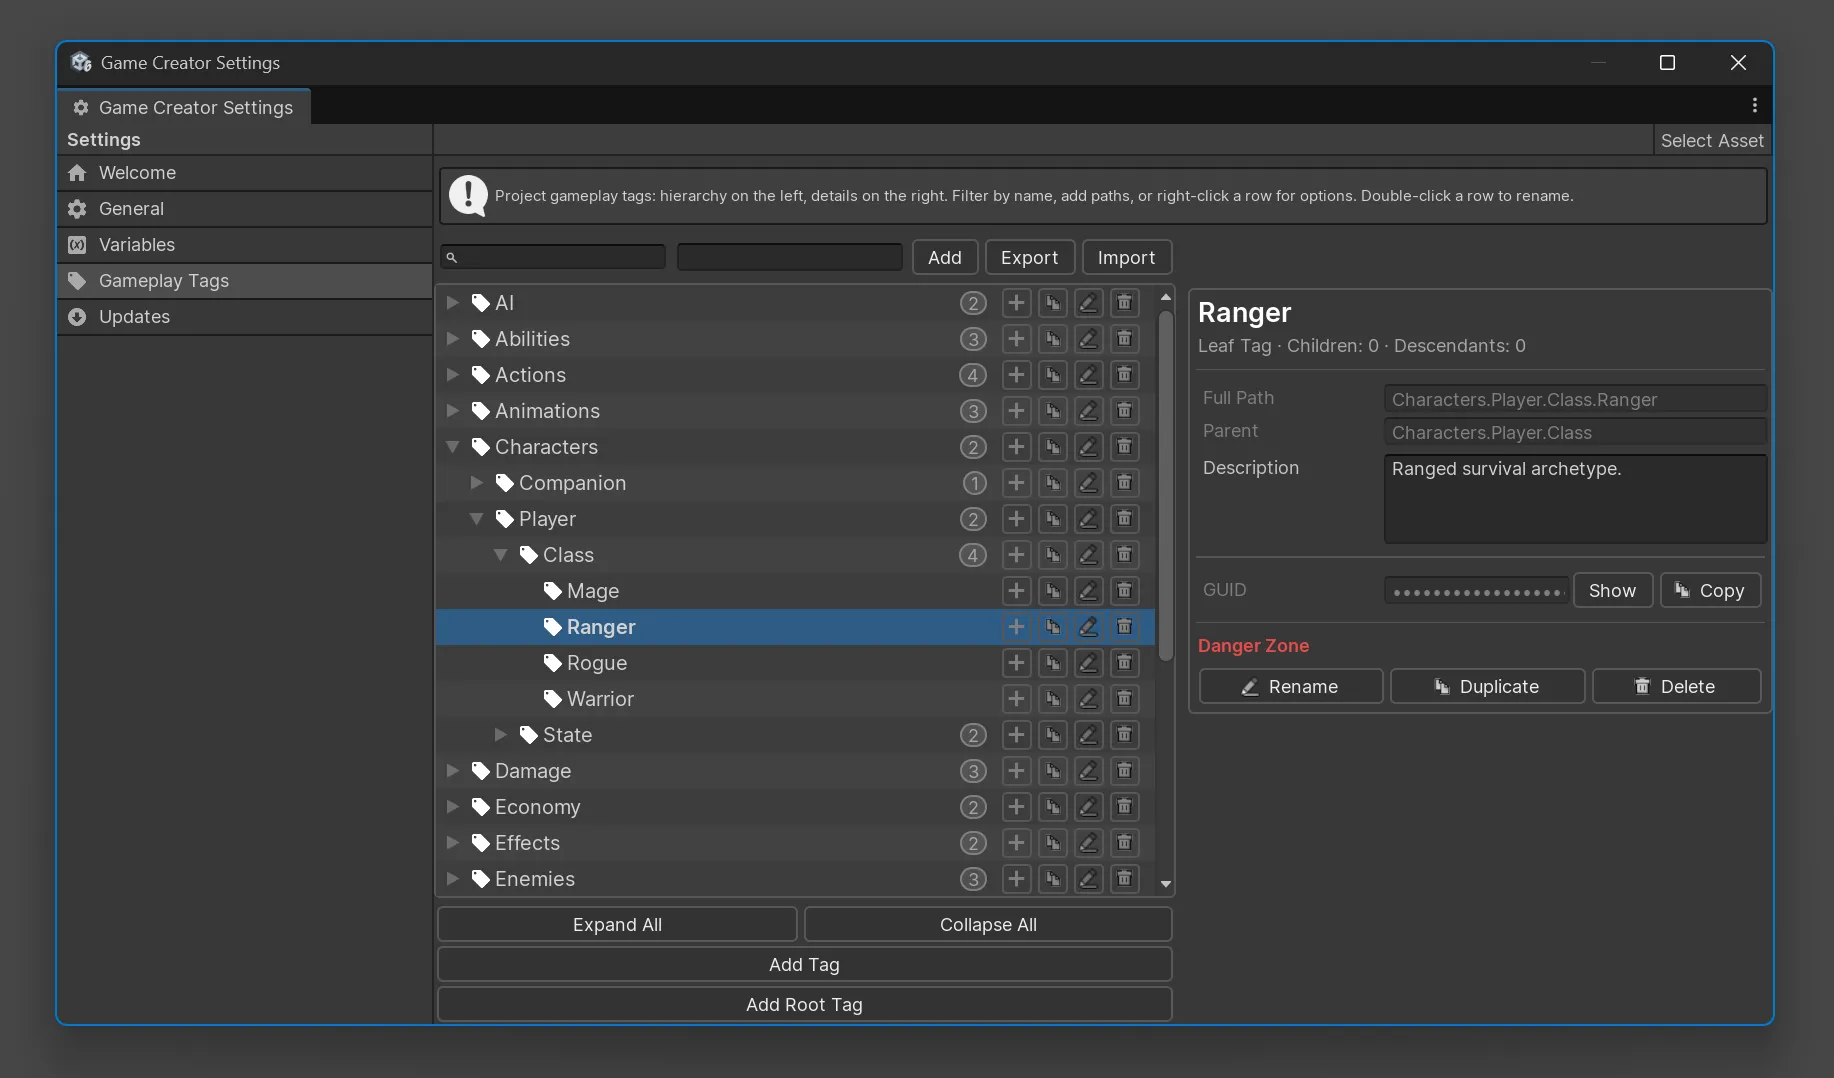
- Open the Game Creator settings and select Gameplay Tags.
Verify the installation
Section titled “Verify the installation”Confirm that:
- the Gameplay Tags settings page opens;
- the tag hierarchy and details panel render;
GameplayTagComponentis available from the component menu;- Gameplay Tags Actions and Conditions appear in Game Creator pickers; and
- the Console contains no plugin-related compiler errors.
Default tags
Section titled “Default tags”The tag repository starts empty. If the installed package includes an optional Default Tags install, add it separately through Game Creator’s installation workflow only when those starter tags are useful to the project.
Project tag data is stored under:
Assets/GameplayTags/Resources/Settings/Keep this data in version control with the rest of the Unity project.
Upgrade safety
Section titled “Upgrade safety”Before replacing a pre-release or earlier package build:
- Export the tag database.
- Commit scenes, prefabs, and project settings.
- Import the new package.
- Open the tag manager and confirm the database loads.
- Inspect representative prefabs with
GameplayTagComponent. - Run the tag repository validation after any rename, import, or redirect changes.
Version 1.0.0 was the first documented public release, so its release notes do not require a
migration from an earlier public version. See the Changelog.